Configure JFrog Artifactory and Xray
Now that we have the JFrog CLI installed and configured, we will use it to create the Artifactory NPM and docker repositories, Xray watches and policies. We will need these when we build and publish our NPM application later. The JFrog CLI uses the the JFrog Platform REST APIs. This is another way that you can manage and monitor the JFrog Platform.
- In your Cloud9 terminal, change directory to the aws-modernization-with-jfrog directory.
- Open the scripts/create_entities.sh script file. As you browse the script, take notice of the jfrog rt commands. These are the JFrog CLI commands that enables us to create Artifactory repositories and configure Xray.
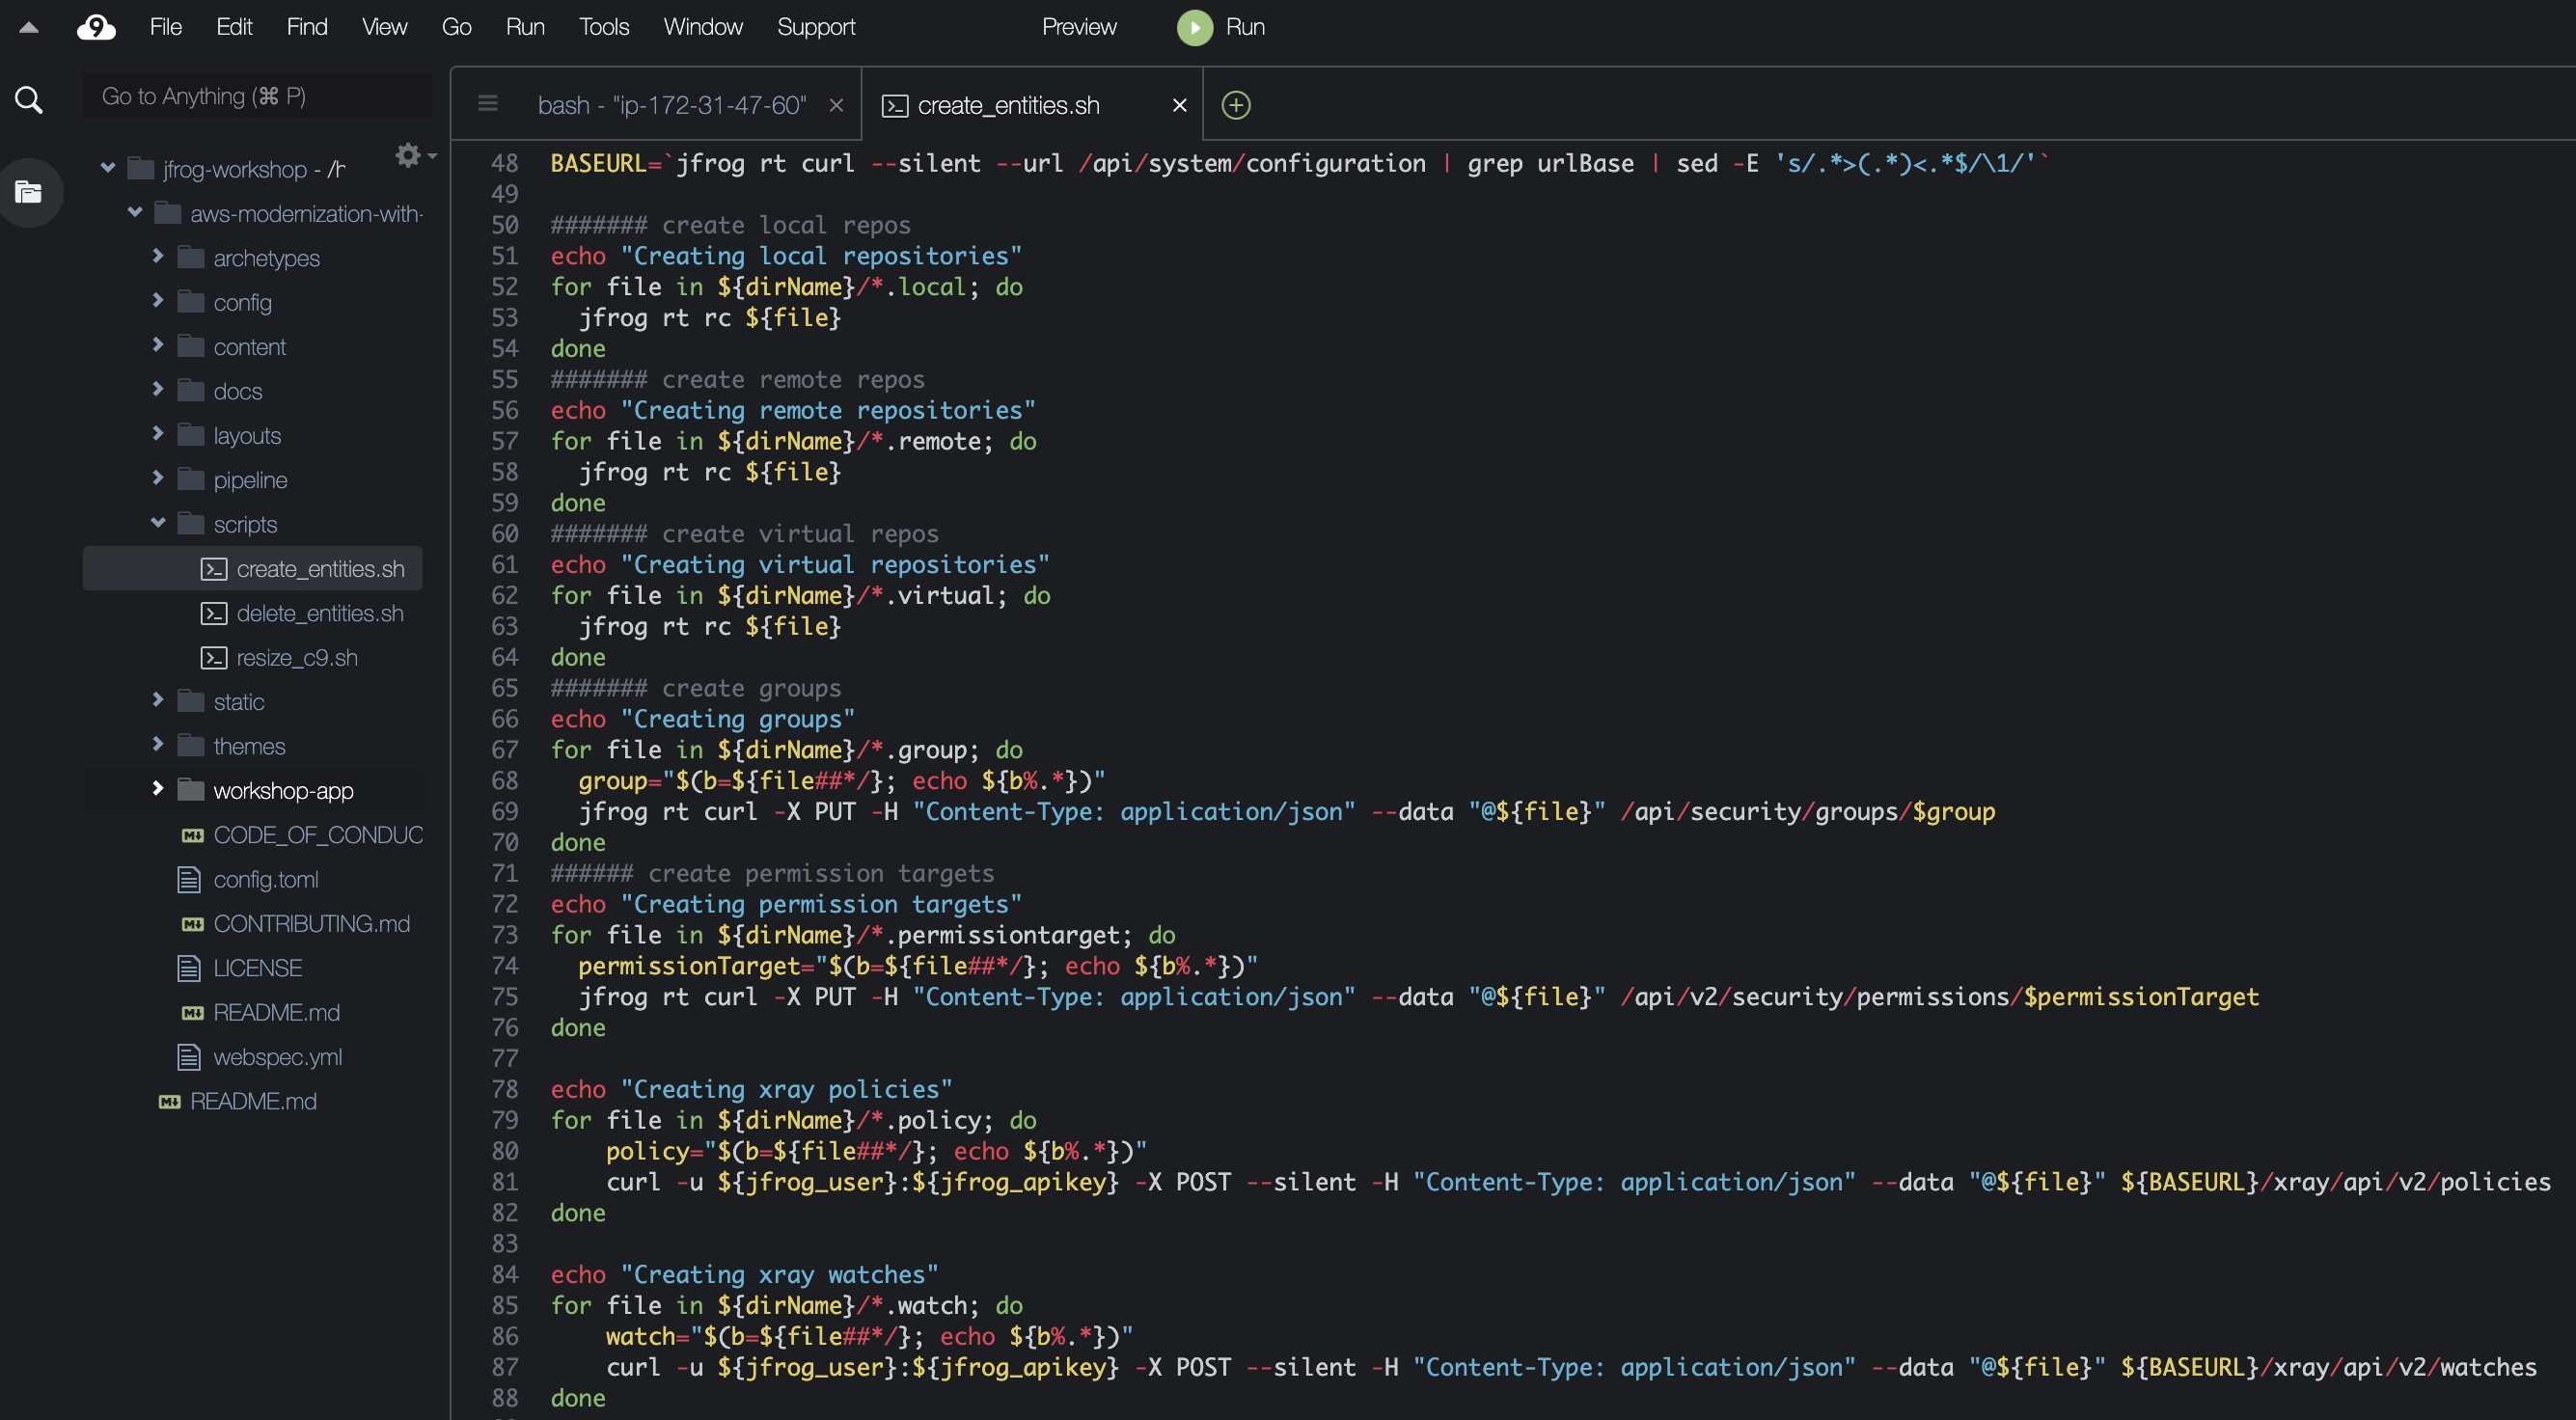
- Execute the script to create Artifactory repositories, Xray watches and policies. This command will take a few minutes to complete.
source scripts/create_entities.sh
-
Now let’s see how the scripts/create_entities.sh configured Artifactory and Xray for our workshop. In your JFrog Platform instance, go to Artifactory ► Artifacts.
-
In the pane on the left, you can see NPM and Docker repositories. These were created by the create_entities.sh script. Three different types of repositories were created: local, remote and virtual.
- Local repositories are physical, locally-managed repositories into which you can deploy artifacts. These are repositories that are local to the JFrog Artifactory instance.
- A remote repository serves as a caching proxy for a repository managed at a remote URL (which may itself be another Artifactory remote repository).
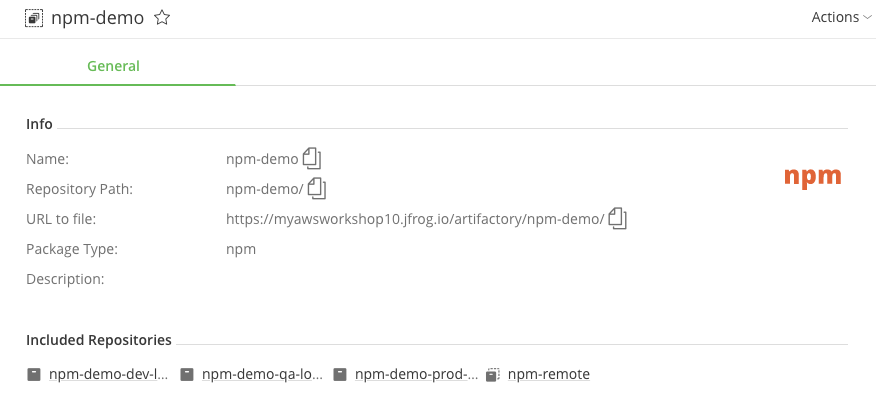
- A virtual repository (or “repository group”) aggregates several repositories with the same package type under a common URL. A virtual repository can aggregate local and remote repositories.
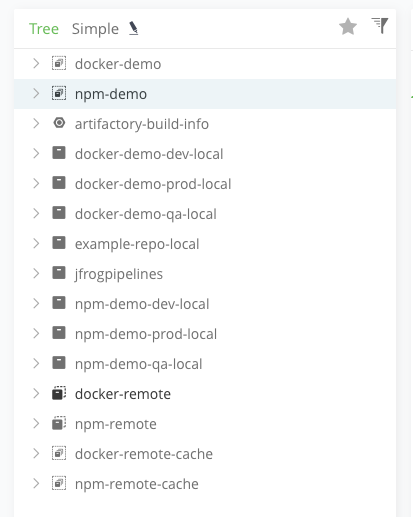
From the naming, we can see that we also created repositories to represent different stages in our process: dev, qa and prod. In our workshop, we will push an NPM package to the NPM repositories and Docker images to the Docker repositories. Take some time to explore this repository view.
-
Now let’s view the Xray configuration. Go to Security & Compliance ► Policies.
-
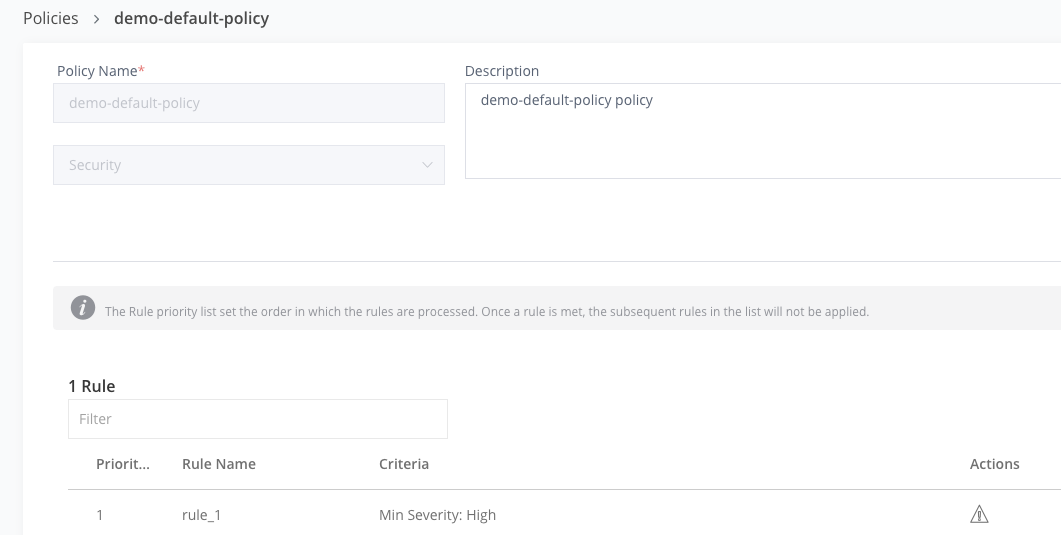
Click on the demo-default-policy. This single policy will generate security violations for high severity vulnerabilities.
-
Go to Security & Compliance ► Watches.
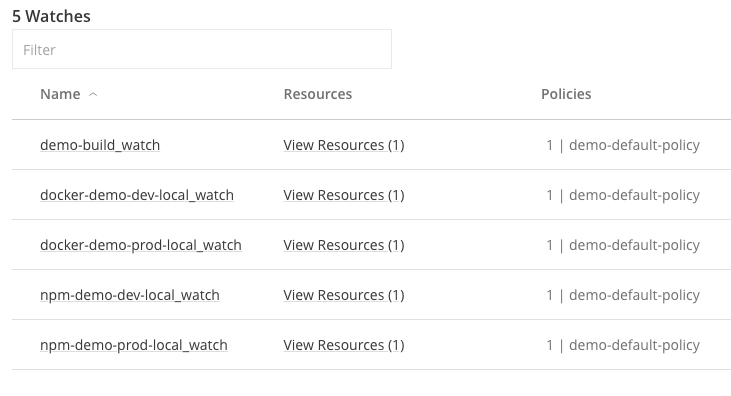
-
Click on any item in the watches list. This view shows the repositories, builds, bundles that are being scanned per a specified security or license policy. It will also show any existing violations.
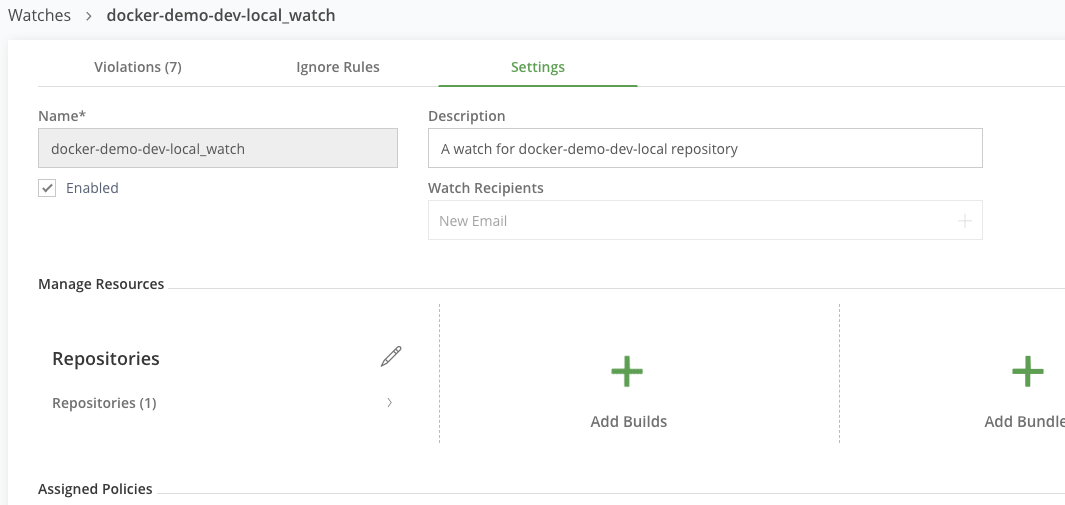
JFrog Xray scans your artifacts, builds and release bundles for OSS components, and detects security vulnerabilities and licenses in your software components. Policies and Watches allow you to enforce your organization governance standards. Setup up your Policies and Watches to reflect standard governance behaviour specifications for your organization across your software components.