Build and Publish the NPM Package
In this section, we will focus on the NPM package of our application by validating NPM dependencies and publishing the resulting NPM package.
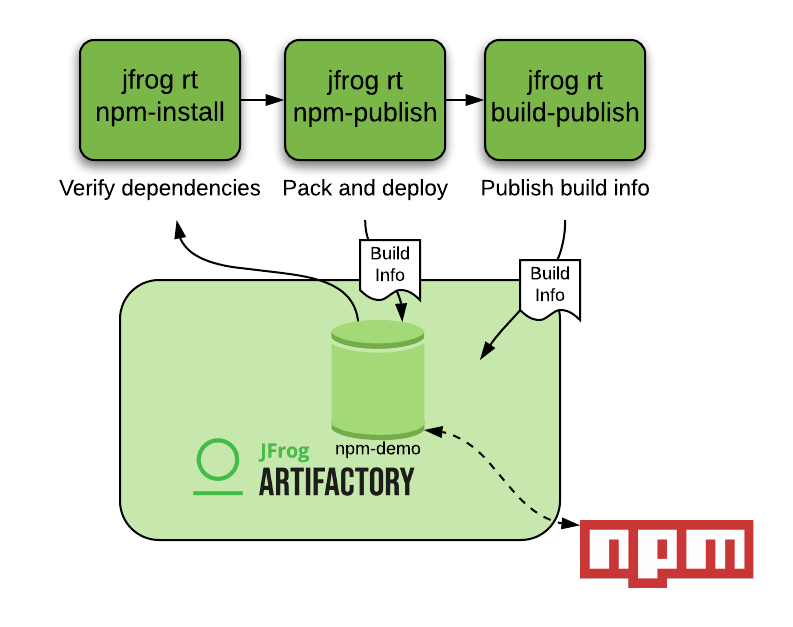
![]()

As we are building our NPM package and Docker image, the JFrog CLI is collecting build info along the way. Build info is referenced by the build name and build number. Build info is all the information collected during the build which includes details about the build itself. The build info includes the list of project modules, artifacts, dependencies, environment variables and more. When using one of the JFrog CLI to build the code, it can collect the build-info and publish it to Artifactory. When the build info is published to Artifactory, all the published details become visible in the Artifactory UI.
-
In the Cloud9 terminal, change directory to
cd aws-modernization-with-jfrog/workshop-app. This directory contains the code for our NPM application. -
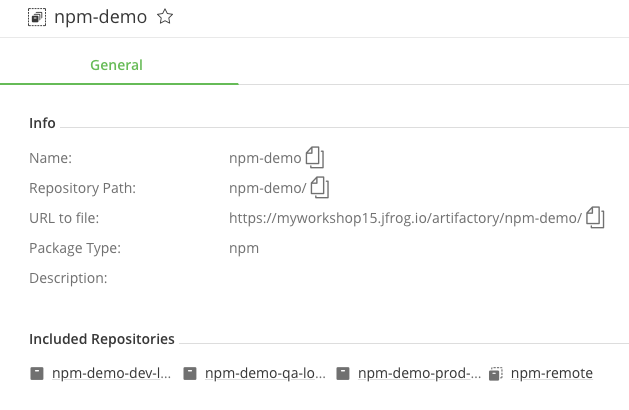
Configure the NPM repositories with the JFrog CLI. This sets the npm-demo as the NPM repository for deploying and resolving packages.
jfrog rt npmc --repo-resolve npm-demo --repo-deploy npm-demo --server-id-resolve $jfrog_server_id --server-id-deploy $jfrog_server_id
- Perform an NPM install with the JFrog CLI command to verify NPM dependencies. –build-name specifies the name for this build. –build-number specifies the run. Each time this code is built, reference the same build name, but increment the build number. Build info is referenced to these values.
jfrog rt npm-install --build-name=npm_build --build-number=1
This command should result in successful install.

 .
.- Perform an NPM publish to package and deploy to the npm-demo repository. You set this repository in Step 2.
jfrog rt npm-publish --build-name=npm_build --build-number=1
This command should result in successful publishing.

- Now let’s publish our build info. This contains all the properties including dependencies, versions, artifacts and environment variables associated with the npm_build. The following will publish the accumulated build info.
jfrog rt build-publish npm_build 1
 .
.-
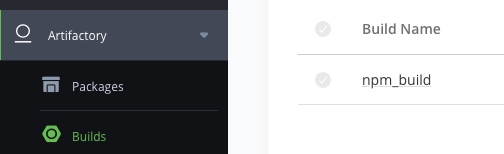
In your JFrog Platform instance, go to Artifactory ► Builds.
-
Click on npm_build. This is our current build.
-
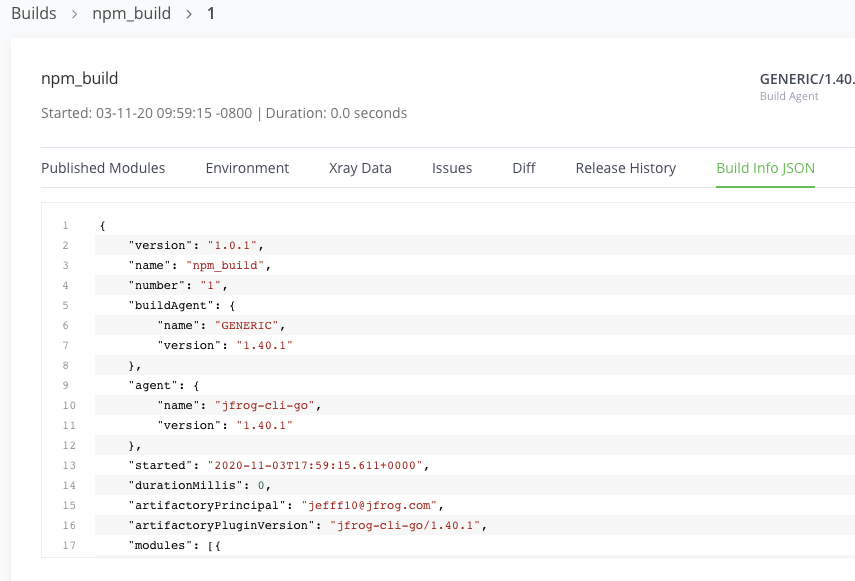
Click on 1. This is our current build run. This reveals all of our current build info including published artifacts and dependencies. This was collected through our previous JFrog CLI commands.

- Select the Build Info JSON tab. This provides a JSON view of all of our build info.
-
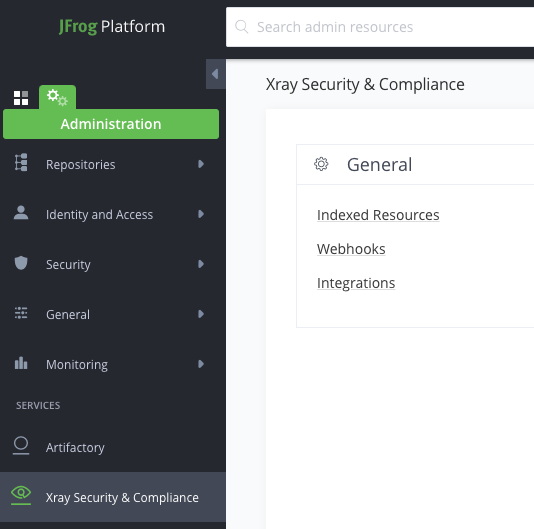
Go to Administration ► Xray Security & Compliance ► Indexed Resources.
-
Select the Build tab.
-
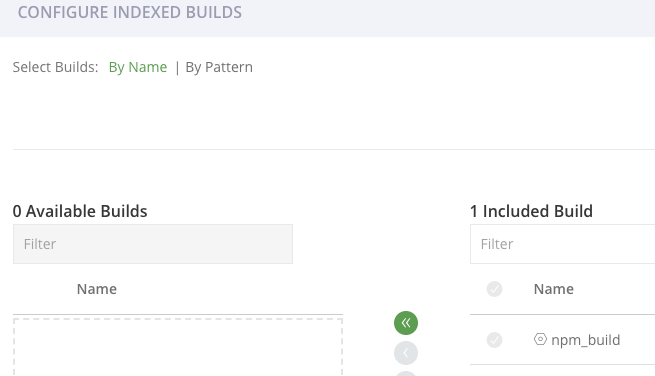
Click Manage Builds.
-
Move the npm_build to the included builds and click Save. This enables Xray to scan this build.