Build and Push the Docker Image
We will now build a Docker image with our NPM package and publish the image to our JFrog Artifactory repository.
![]()

- Return to your Cloud9 terminal. Let’s create a Docker image for our NPM application. Let’s create an environment variable for our image name. Substitute your server name in the following command.
export image_name=<server name>.jfrog.io/docker-demo/npm-app:latest
- Now let’s build a docker image with the following command.
docker build -t $image_name .
This command should result in a successful Docker image build.

 .
.- Now use the JFrog CLI to push the docker image.
jfrog rt docker-push $image_name docker-demo --build-name=npm_build --build-number=1
- Now trigger a Xray scan of the build.
jfrog rt build-scan npm_build 1
This command should result in successful scanning.

- If our build passes the Xray scan, we can promote it with the following command. This promotes from the dev repository to the prod repository. Substitute your server name in the following command.
jfrog rt docker-promote npm-app docker-demo-dev-local docker-demo-prod-local --copy
 .
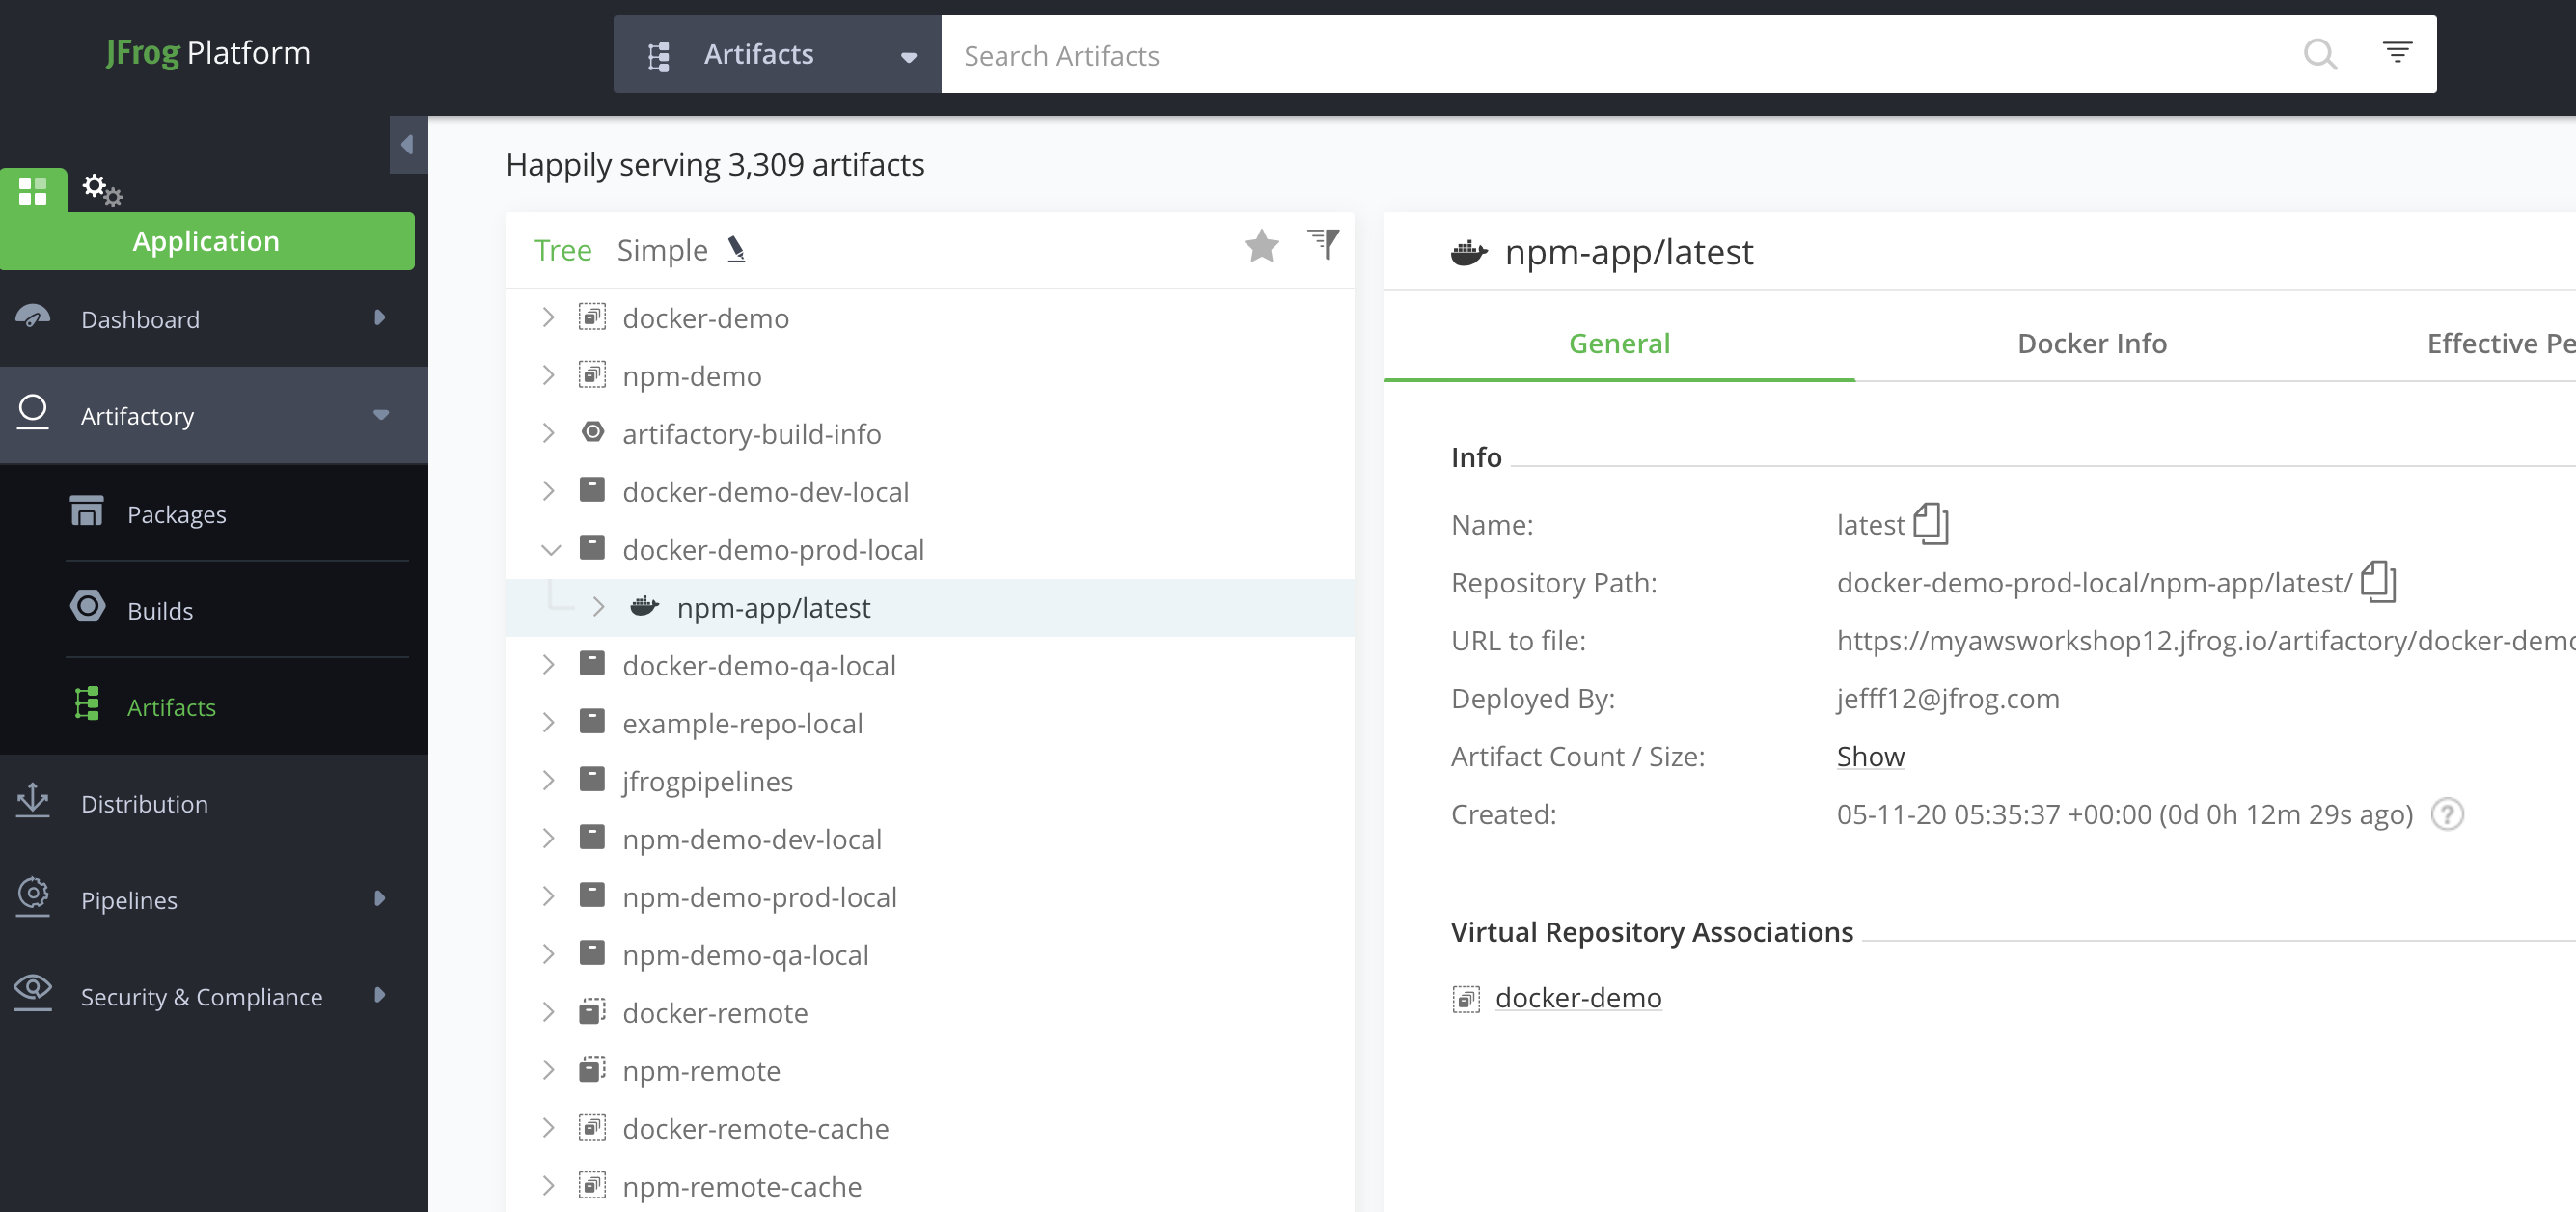
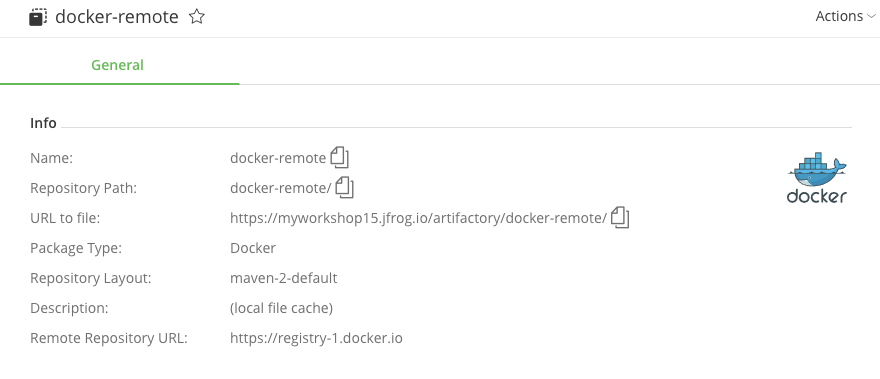
.- In your JFrog Platform instance, go to Artifactory ► Artifacts to see this in the docker repositories.