Get a GCP Environment
If you have your own Google account and have your own GCP environment, skip this step.
This workshop requires a GCP environment. If this is a JFrog and Google hosted event, your instructor will provide a link and an activation code. The following steps walk through the process of obtaining a GCP environment using the provided link and activation code. Otherwise, use your own GCP environment and skip this step.
When using this temporary GCP environment at a hosted event, use an Incognito Window to avoid conflicts with your existing Google Account.
- Open the instructor provided link in your browser. This will take you to environment registration page.
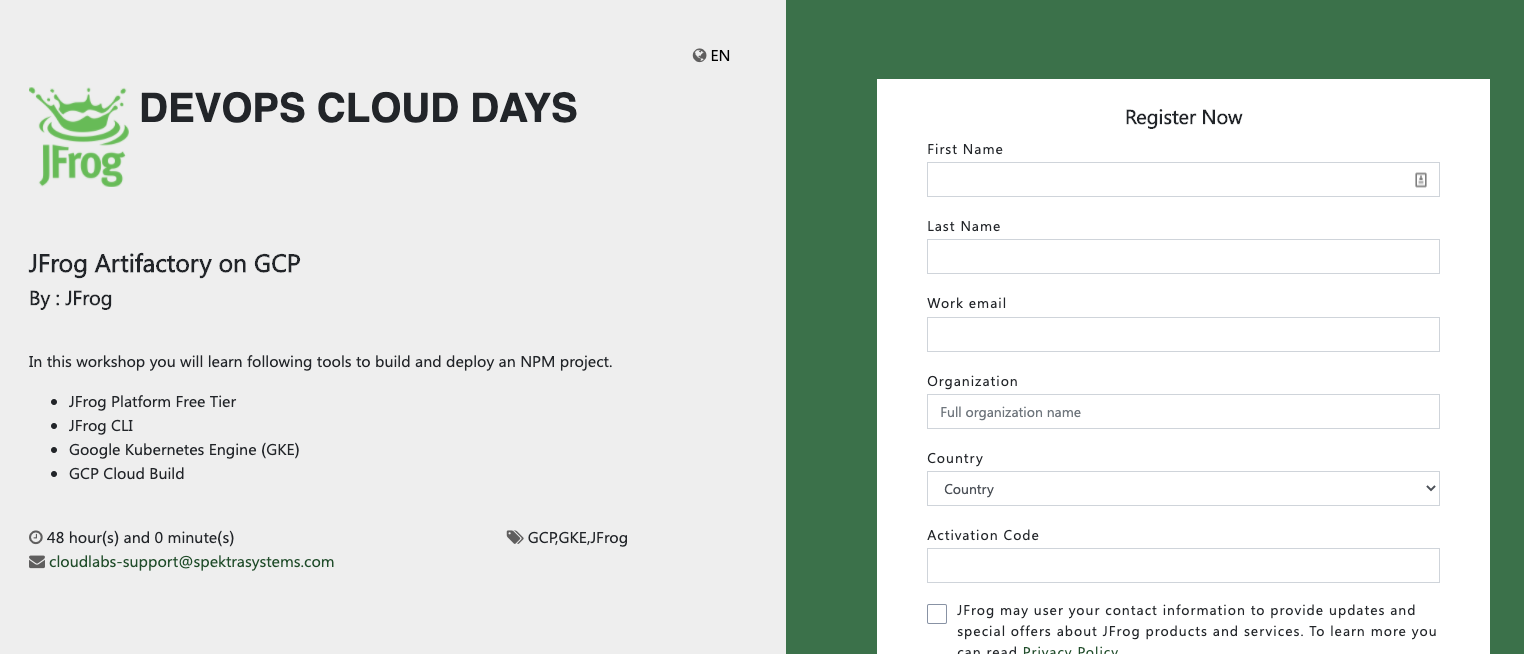
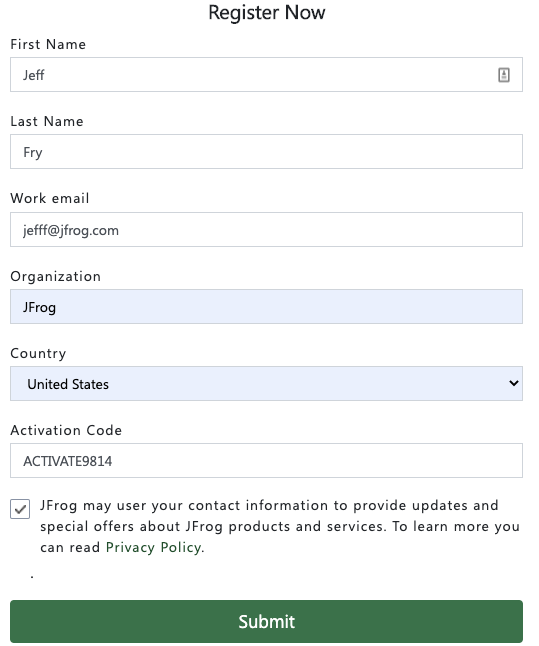
- Fill out the form with your information and click Submit.
- Next, click on the Launch Lab button.
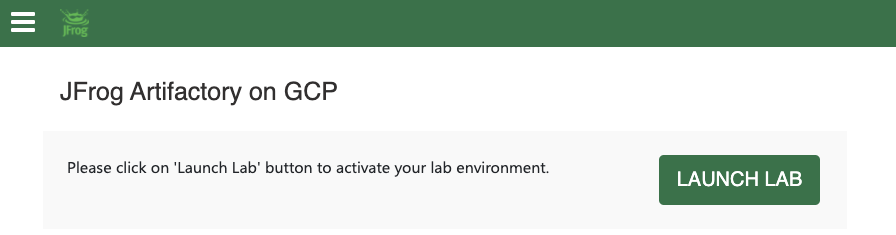
- It will take a couple minutes for your environment to be ready.

- When ready, your environment information will be provided. Take a moment to copy these values to your notepad.
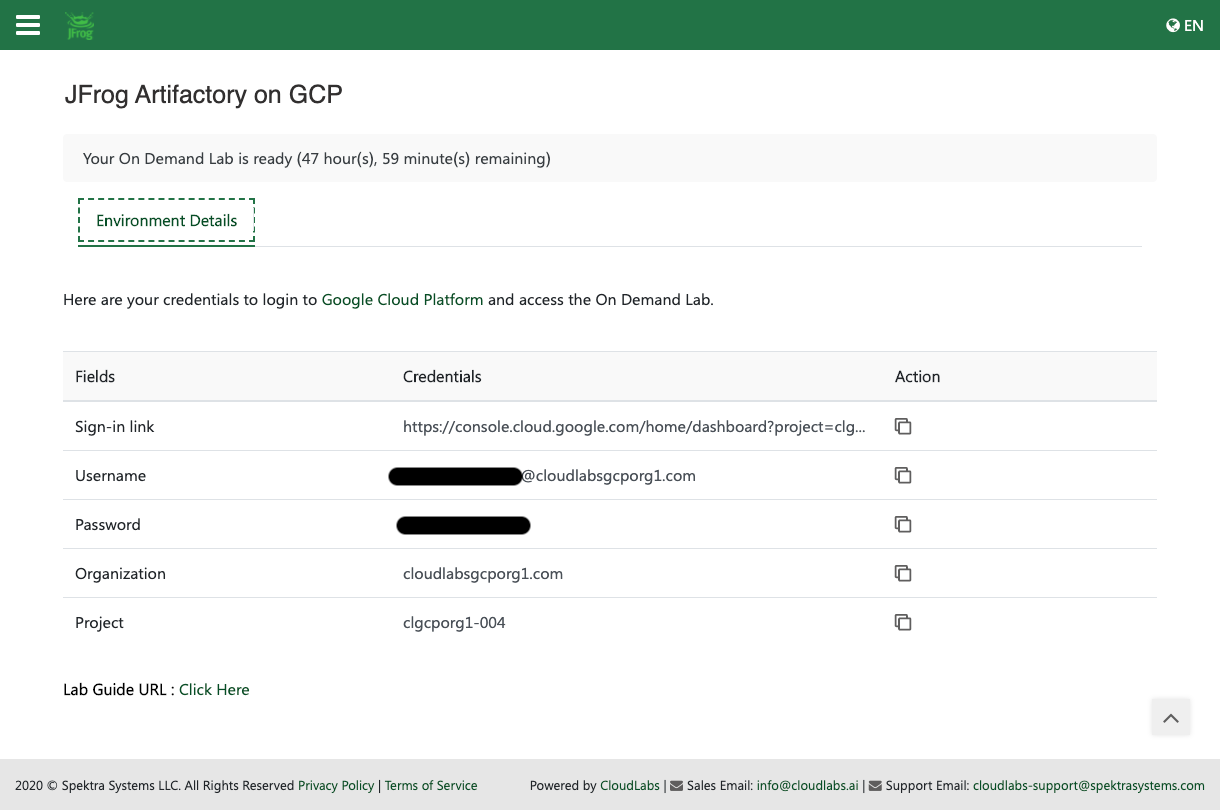
-
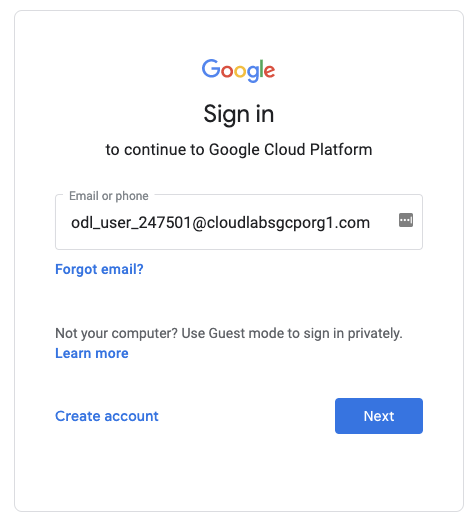
Open the Sign-in link in a new browser tab. If you are already signed into Google Cloud with an exiting account, please sign out.
-
Sign in using the account credentials provided for the environment.
-
Accept the new account agreement.
-
Accept the terms of service.

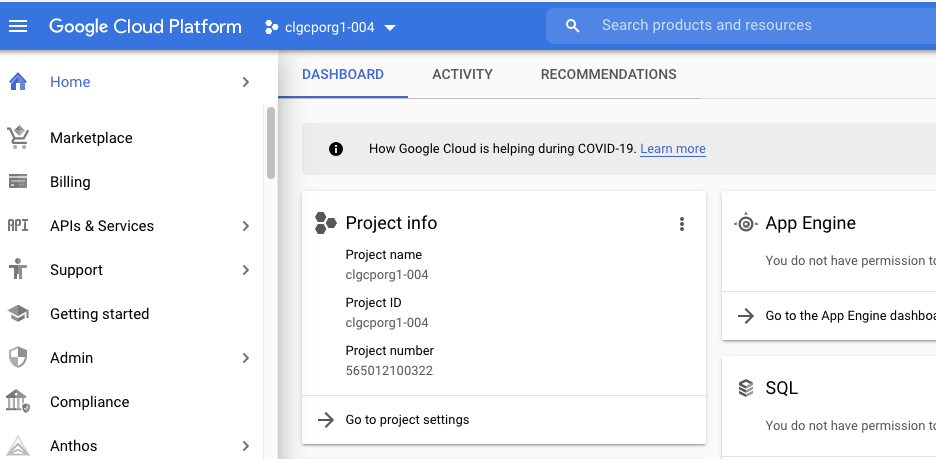
- You are now on your Google Cloud Console.
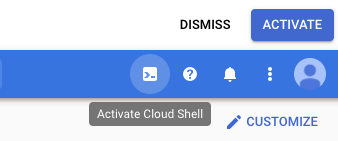
- Click on the Google Cloud Shell button at the top right of the console to open Google Cloud Shell terminal in your browser.
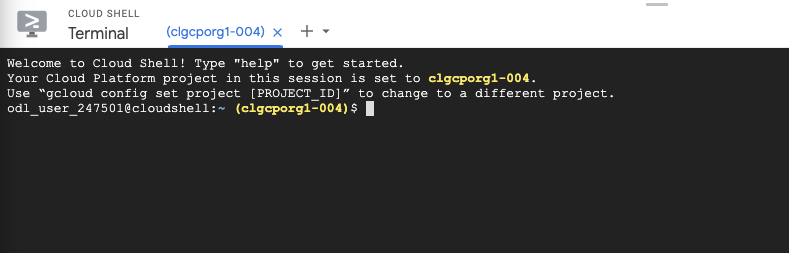
- Click the Continue button and wait a few moments for you Google Cloud Shell Machine to be ready.
Great work! Let’s move onto the next step.