Generate an API Key
Remember your username and API key. We will use it again with the JFrog CLI and to set up GKE to deploy your image.
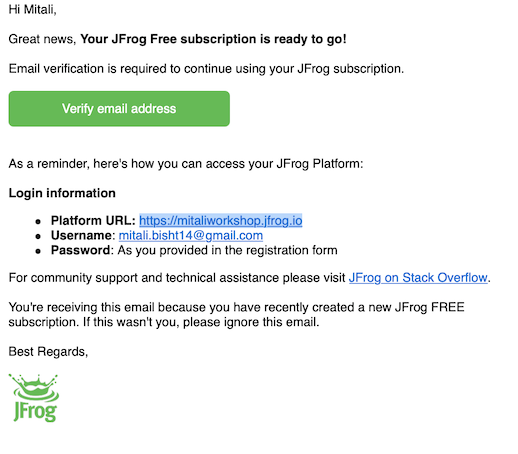
- Go to your JFrog Platform instance at https://[server name].jfrog.io. Refer to your JFrog Free Subscription Activation email if needed. Substitute your server name.
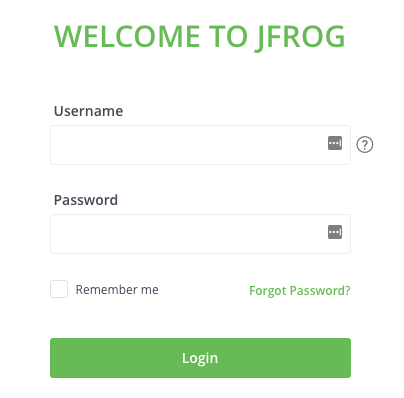
- Login to your JFrog Platform instance with your credentials.
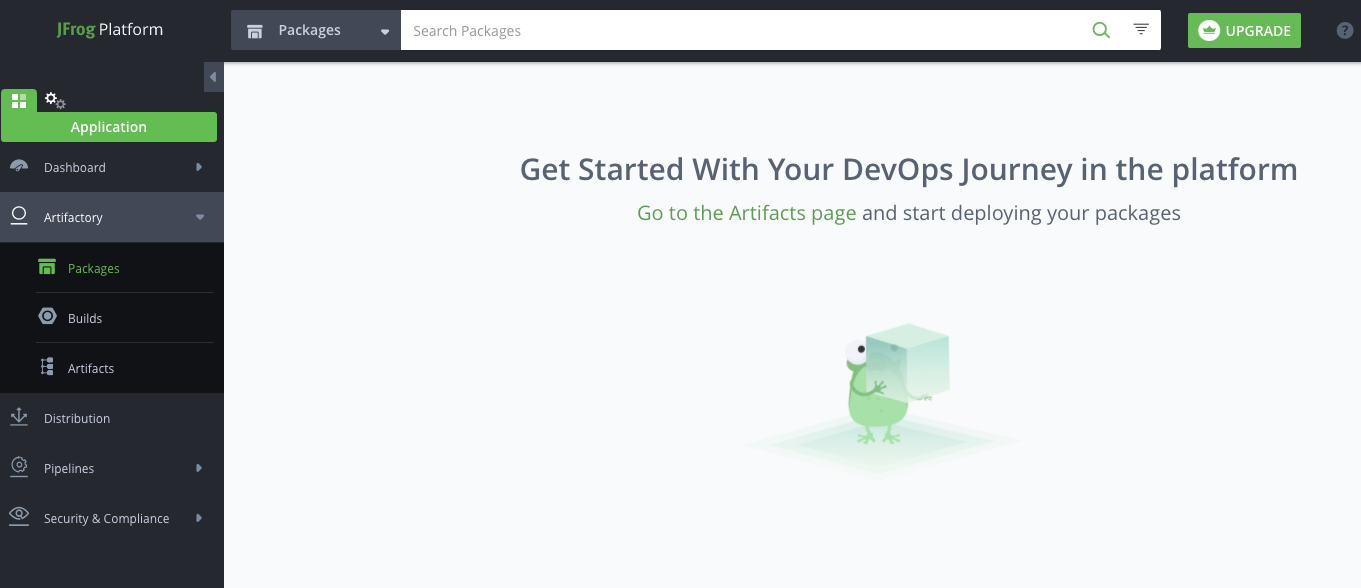
- Once logged into your JFrog Platform instance, you will be presented with the landing page.
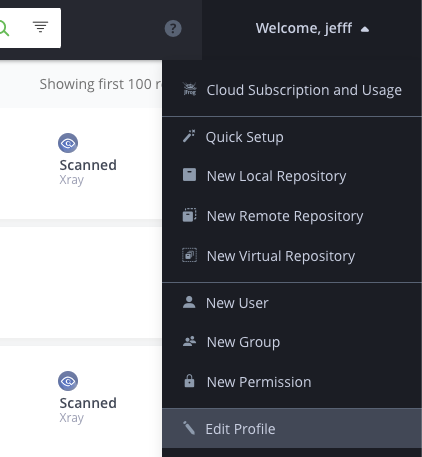
- Go to your profile and select Edit Profile.
- Enter your password and click Unlock to edit the profile.
- In the Authentication Settings section, click the gear icon to generate an API key.
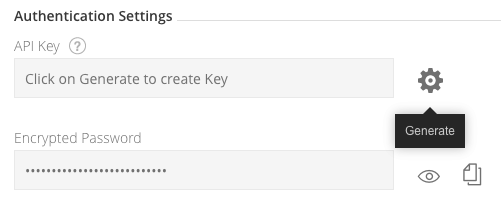
- Copy the API Key.
- Click Save.
- We must set these credentials as environment variables to be used in the build later. Do that now with the following commands.
export JFROG_USER=<username/email>
export JFROG_API_KEY=<api key>
export JFROG_SERVER_NAME=<[server_name].jfrog.io>
