Create an AKS Cluster
Before creating an AKS cluster for our application, we must first set up the required networking with the following steps.
- Now we are ready to create an AKS cluster. In your Azure Cloud Shell, let’s get the latest version of Kubernetes that is available with the following command.
VERSION=$(az aks get-versions \
    --location $REGION \
    --query 'orchestrators[?!isPreview] | [-1].orchestratorVersion' \
    --output tsv)
echo $VERSION
- Let’s create an environment variable for the cluster name.
CLUSTER_NAME=jfrog-azure-workshop-cluster
echo $CLUSTER_NAME
- Now we are ready to create the AKS cluster. Execute the following command. This will take a few minutes.
az aks create \
    --resource-group $RESOURCE_GROUP \
    --name $CLUSTER_NAME \
    --vm-set-type VirtualMachineScaleSets \
    --node-count 2 \
    --load-balancer-sku standard \
    --location $REGION \
    --kubernetes-version $VERSION \
    --network-plugin azure \
    --generate-ssh-keys \
    --enable-managed-identity
 .
.- Next, let’s update our kubeconfig to get access to his cluster.
az aks get-credentials --resource-group $RESOURCE_GROUP --name $CLUSTER_NAME
A kubeconfig file is a file used to configure access to Kubernetes clusters when used in conjunction with the kubectl commandline tool (or other clients).
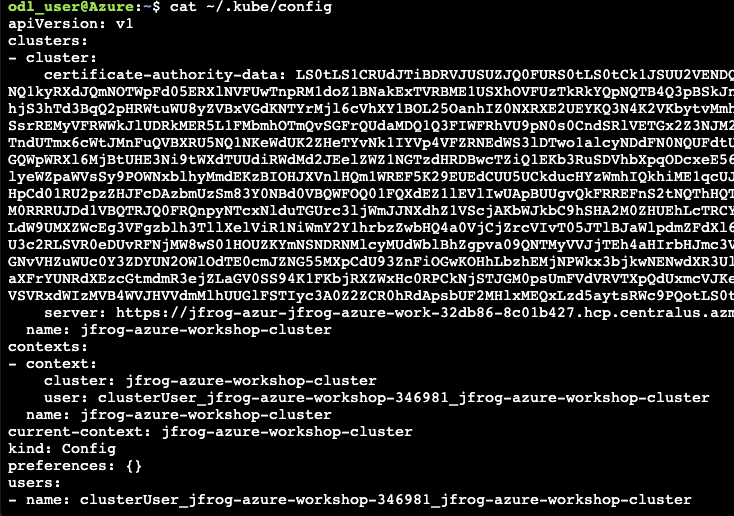
- Finally, execute the following command and copy the kubeconfig so that we can use it to access the cluster from our CI/CD pipeline.
cat ~/.kube/config